
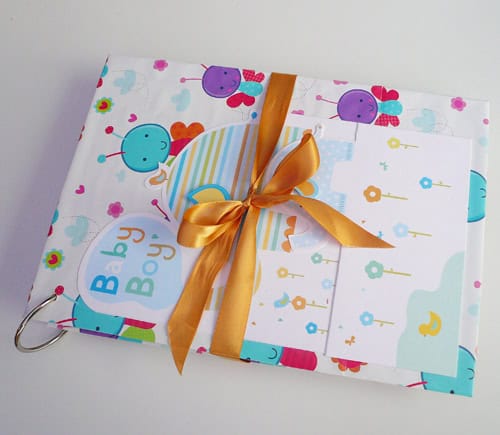
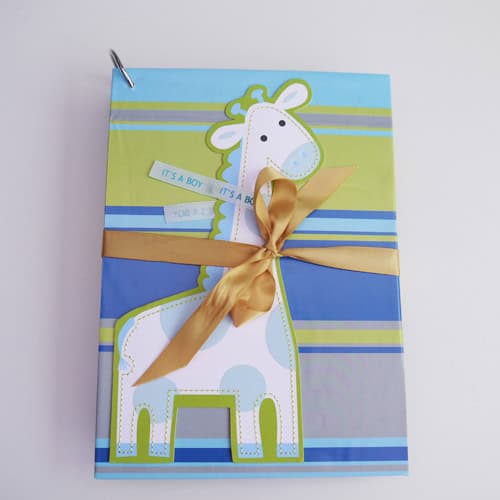
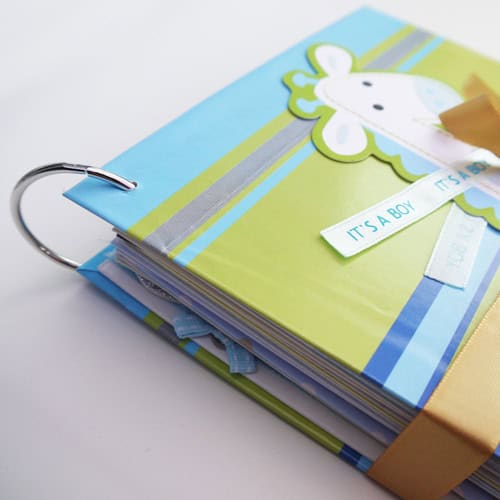
I spent ages wondering how to save new baby cards. I had loads that I’d saved from the birth of each of my boys. As you all know, I’ve been sorting out my sentimental things and as part of my big clearout I made little keepsake booklets out of the baby cards that I received for DS1 and DS2:
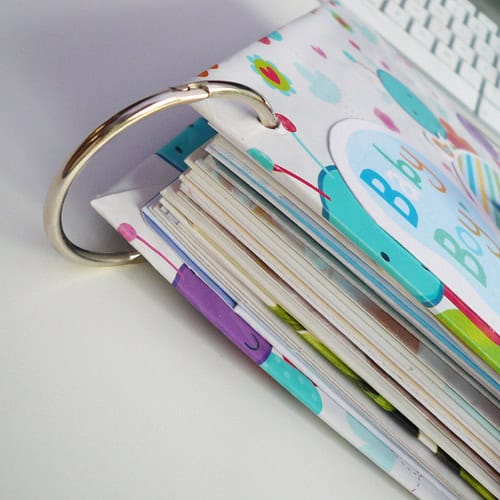
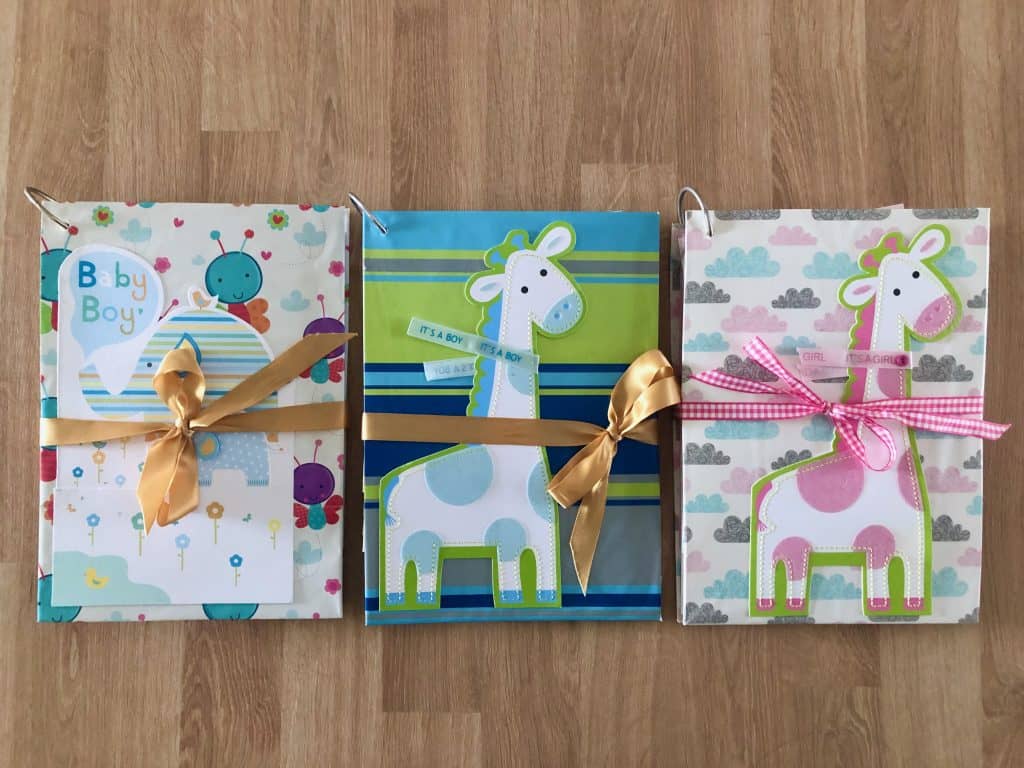
Now, I am no crafter, and this is a rough and ready project, but I’m pleased with how it’s turned out, so I thought I’d share it with you as I quite like looking at it sitting on my bookshelf and it’s better than having them all bundled in a box, which is how they were before. I used pretty much the same method as this wonderful bridal card project, which was my inspiration. Update: I had a baby girl 18 months after writing this post, so now I have three:
Related post: How To Save Children’s Artwork
How To Save New Baby Cards – Step by Step
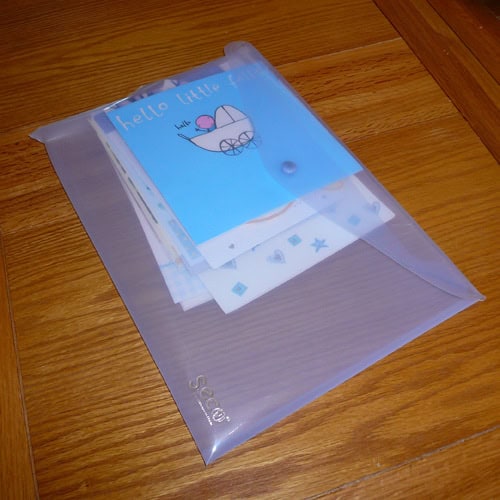
So, here are my ultra-quick photo-step instructions (this took me one evening, plus 10 minutes the next day, to complete). First of all, gather together all of your baby cards into a nice pile:
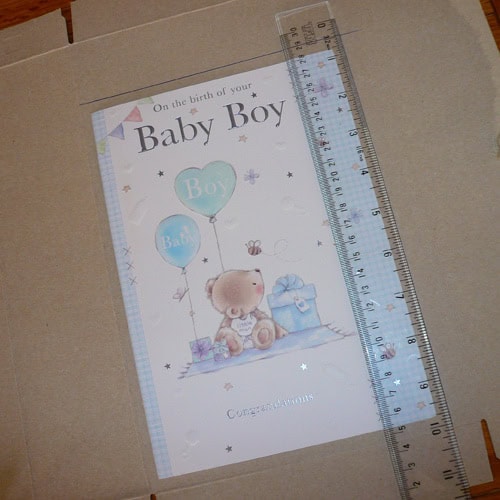
Stack all your cards together to find the biggest one, which you will use as a guide to make the front and back cover. Next, acquire some cardboard. I used two empty cereal boxes. Use a ruler to draw a line around the biggest card (around a half-inch margin is about right):
Now, because cereal boxes are a little flimsy I cut out TWO of these and stuck them back-to-back. Once you have your card, wrap it up with some nice gift paper:
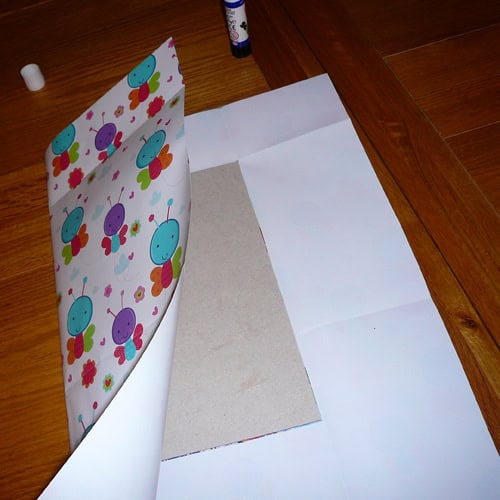
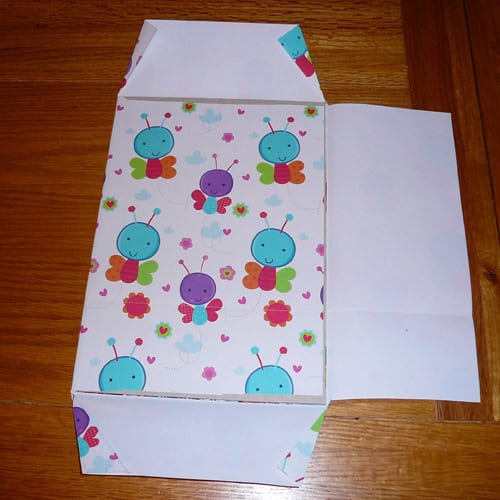
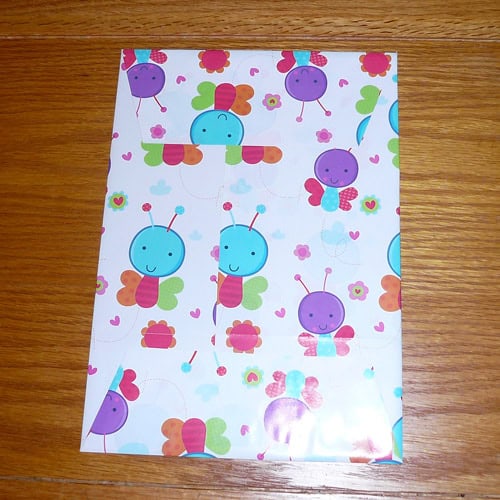
Repeat all of the above for the back cover, so you will end up with two cardboard covers. Then, to decorate the front cover I used a blank new baby card (yup, very wasteful!):
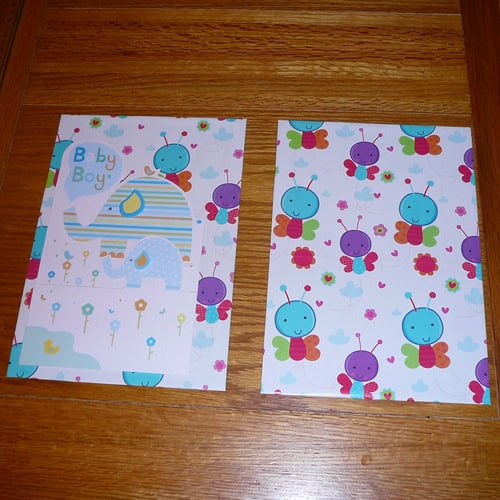
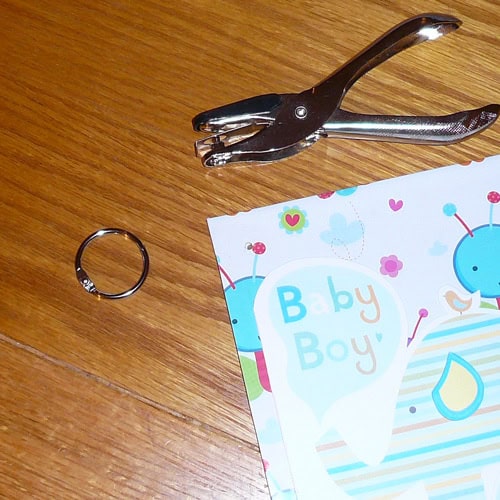
Next, use a hole punch to pop a hole in both covers and every card in the top left corner. Make sure the holes in the cover sit in a bit further than the ones you punch in the actual cards. This will ensure the edges of the cards inside are completely covered when they are all bound together.
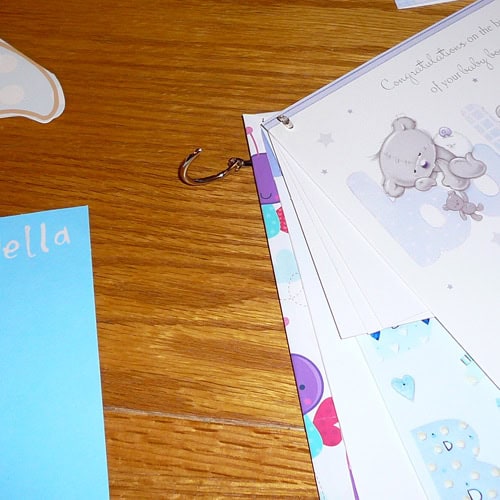
Now, thread everything onto a book ring (I used a 38mm size):
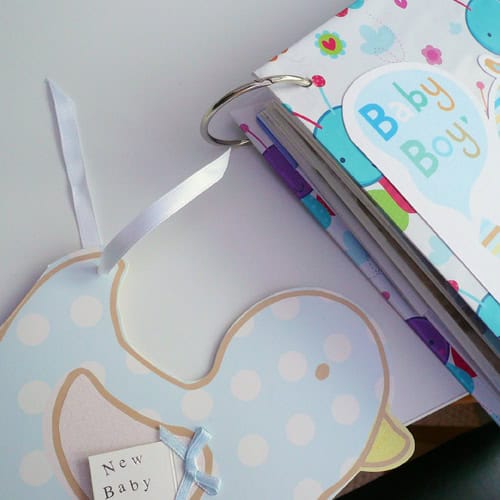
I had one duck-shaped card that I couldn’t fit onto the ring properly, so I used a piece of white ribbon as a tie:
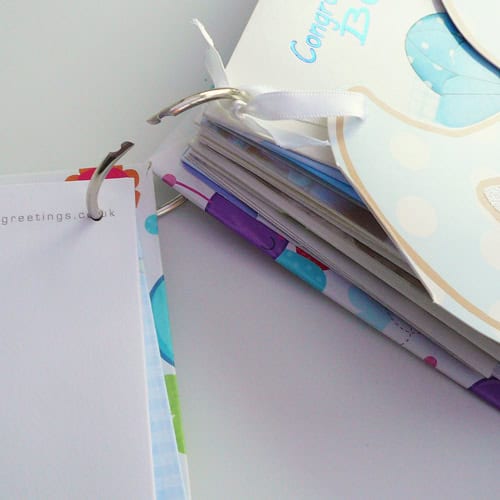
Finally, to keep it all together, I tied a spare piece of ribbon around the whole lot, which I had lying around in my gift-wrap folder:
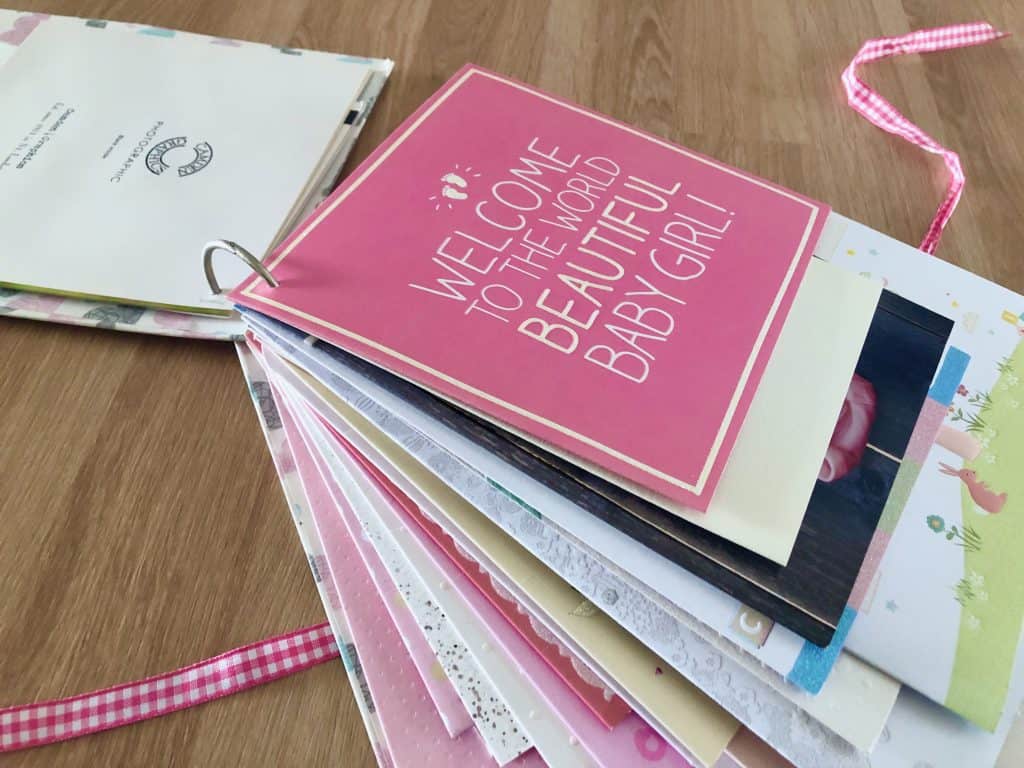
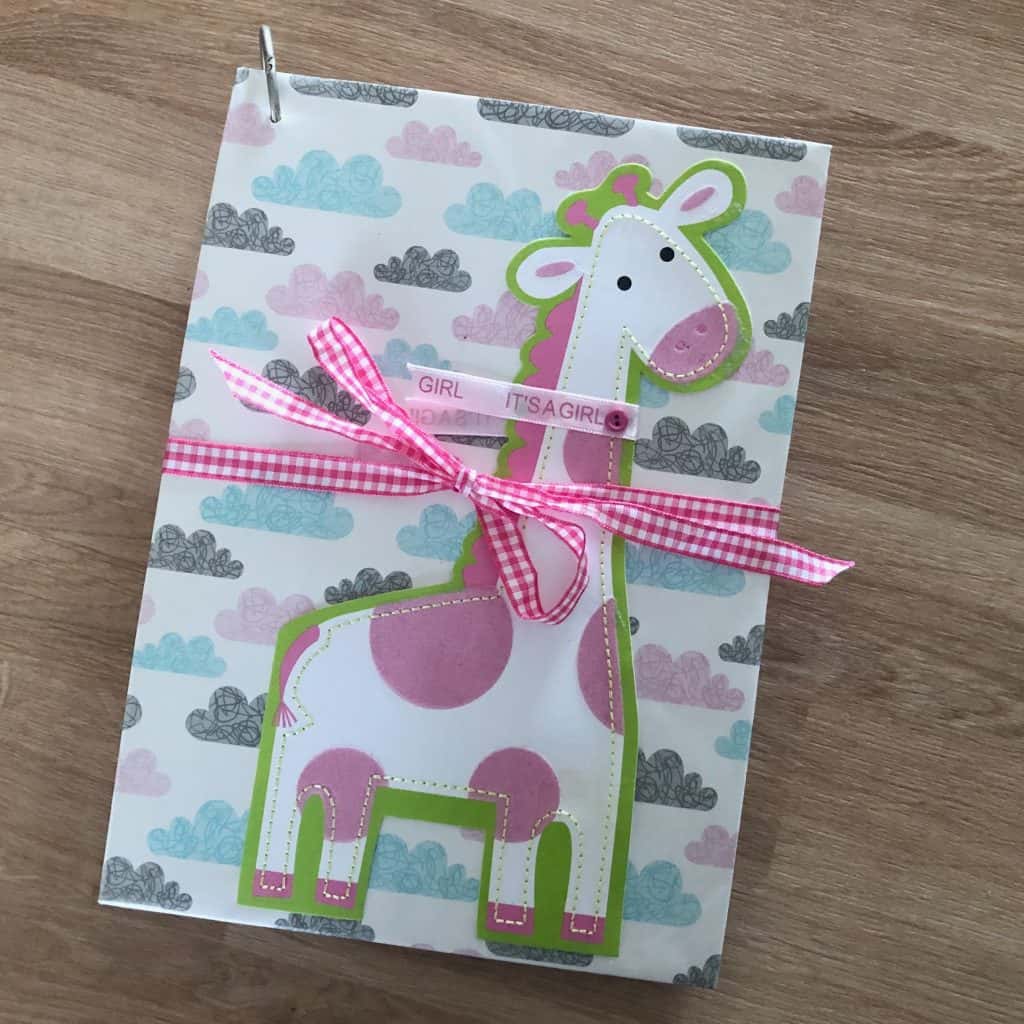
UPDATE: 18 months after making these I had a baby girl, so I made a third!

LOVE THIS!!! I am definitely going to do this. I shared it on Facey and Twitter! That’s how amazing I think it is! x
Aw, thank you my lovely! X
Aw, thank you my lovely! X
I love this! Hubby wants me to take all the baby cards down and I’m sure I saved some wrapping paper somewhere. Might try and do this one weekend soon to avoid the heat! Thank you for sharing 🙂 x
What a fabulous idea! I am so doing this. 😀